

Step by Step Connection for TMP36 Temperature Sensor With Arduino
The Parts Needed:
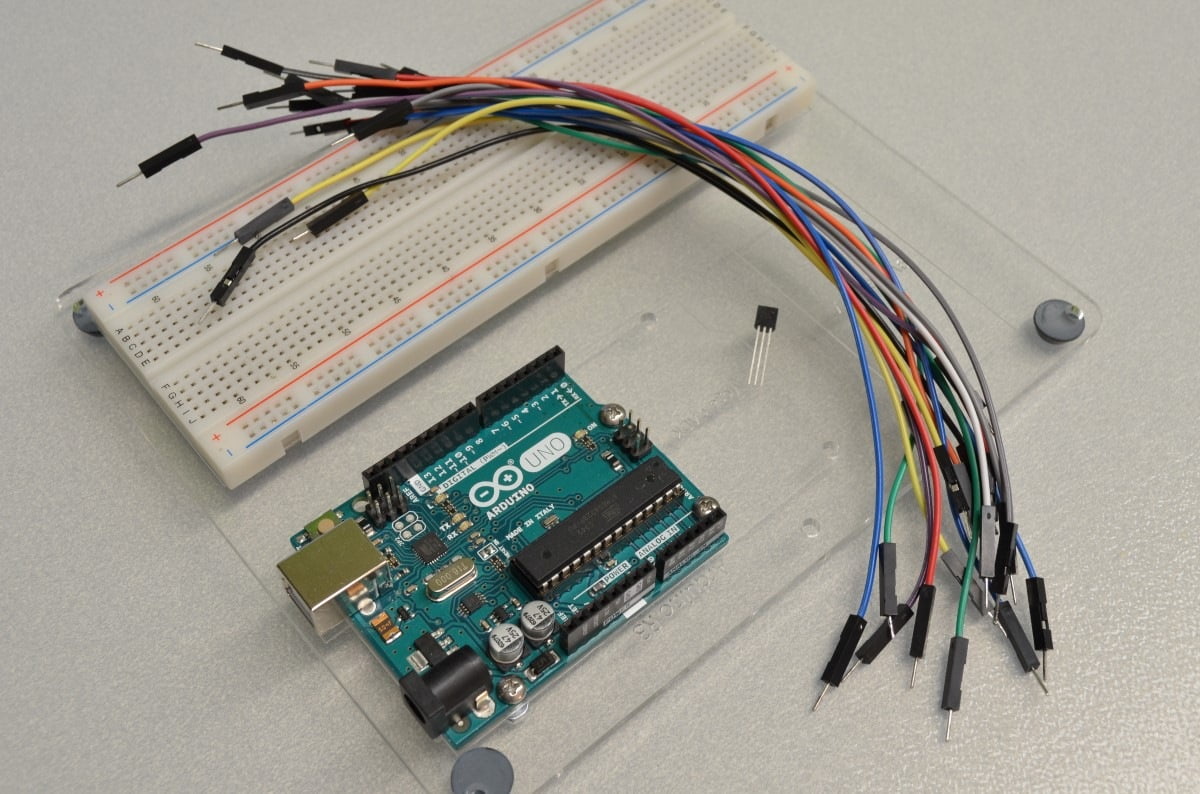
This instructional exercise will require a couple of normal parts:
1 x TMP36 Temperature Sensor
1 x Arduino Uno or viable microcontroller
Hookup Wires - We suggest Premium Male/Male Jumper Wire
We have additionally utilized one of our regular Arduino Mounting Plates in this instructional exercise. The mounting plate keeps your Arduino fixed set up, taking into account substantially more coordinated prototyping!
The Schematic
This handy little diagram shows how we will be connecting everything. Don’t worry if it looks a little overwhelming, we will be going through this step by step!
Step 1 – The TMP36 Temperature Sensor
Since this sensor is straightforward and does not require any supporting components, we will directly connect the sensor to the Arduino. Start by bending the legs on the TMP36 sensor to fit into the breadboard.
Step 2 – Powering The Sensor
This sensor has a genuinely wide information voltage, meaning it isn't exacting regarding the voltage required (anyplace somewhere in the range of 2.7VDC and 5.5VDC). We will involve Arduino's 5VDC power for this instructional exercise. Begin by interfacing a jumper wire from the Arduino's 5VDC pin and running it to the sensor's "pin 1". Then, run another jumper wire from one Arduino's ground pins to the sensor's "pin 3."
Step 3 – Connecting The Output
We are going to be using one of the Arduino’s analog input pins for this tutorial. Run a jumper wire from the sensor’s “pin 2” (the middle pin) to an analog input. We will be using analog input 0 in this tutorial.
Step 4 – Double Check And Plug It In!
Before we give the Arduino power, it's always a good idea to go over all of the connections to ensure there are no wires in the wrong spot – sometimes, that can make a costly mistake!
Step 5 – Starting The Code
void setup() {
// put your arrangement code here, to run once:
}
void loop() {
// put your main code here, to run repeatedly:
}
Since we have wrapped up with the hookup we really want to begin thinking of some code. We will utilize the Arduino IDE,
We will begin with the "BareMinimum" sketch found by clicking "Record" and choosing Examples/Basic/BareMinimum. This sketch is an incredible beginning stage as it incorporates the Setup and Loop capacities - we will compose the rest!
Step 6 – Understanding How To Read The Sensor
This sensor is exceptionally simple to peruse - the sensor does all of the difficult work so we should simply peruse the result. Since the result voltage is a simple voltage corresponding to the temperature we can do some exceptionally essential math to take the voltage and transform it into a number that checks out
Step 7 – Writing The Code
We are beginning with the BareMinimum Sketch found in the IDE, it should look something like this:
[code]
int sensePin = A0; //TThis is the Arduino Pin that will peruse the sensor yield
int sensorInput; //The variable we will use to store the sensor input
double temp; //The variable we will use to store temperature in degrees.
void setup() {
// put your primary code here, to run repeatedly:
Serial.begin(9600); //Start the Serial Port at 9600 baud (default)
}
void loop() {
// put your primary code here, to run more than once:
sensorInput = analogRead(A0);//read the simple sensor and store it
temp = (double)sensorInput/1024;//track down level of information perusing
temp = temp * 5;//increase by 5V to get voltage
temp = temp - 0.5;//Subtract the offset
temp = temp * 100;//Convert to degrees
Serial.print("Current Temperature: ");
Serial.println(temp);
}
[/code]
Step 8 – Upload The Code And Test
Now that all of the code has been written it can be uploaded to your Arduino! Click “Upload” button in the top left corner of the Arduino IDE and it should upload without any issues. Next, click the “Serial Monitor” button in the top right corner (it looks like a magnifying glass). After a few second you should start to see a stream of data appear in the window – that is your temperature in degrees Celsius.


Leave Comments
Post a Comment
Please leave a message if you find this content very helpful