

Connection Using Temperature Sensor With Arduino
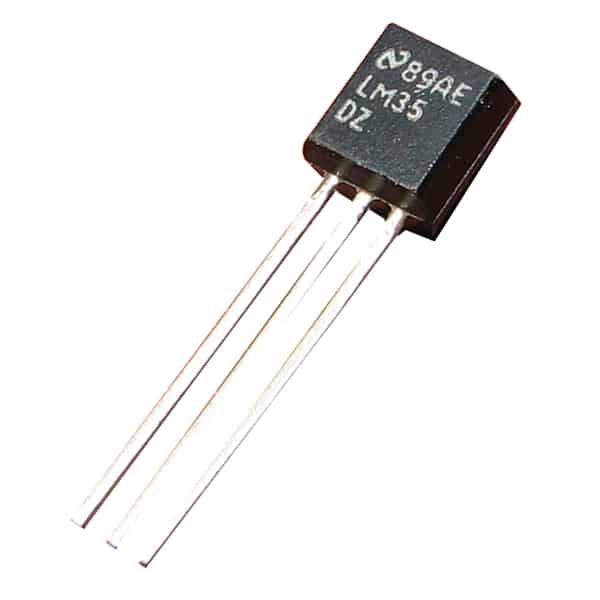
The Temperature Sensor LM35 series are accuracy incorporated circuit temperature gadgets with a yield voltage straightly relative to the Centigrade temperature.
The LM35 gadget enjoys an upper hand over direct temperature sensors adjusted in Kelvin, as the client isn't needed to take away an enormous steady voltage from the yield to get advantageous Centigrade scaling. The LM35 gadget doesn't need any outside adjustment or managing to give normal exactness's of ±¼°C at room temperature and ±¾°C over a full −55°C to 150°C temperature range.
The TMP36 temperature sensor is a simple method for estimating temperature utilizing an Arduino! The sensor can gauge a genuinely wide scope of temperature (- 50°C to 125°C), is genuinely exact (0.1°C goal), and is exceptionally minimal expense, settling on it a famous decision. In this instructional exercises we will go over the rudiments of attaching the TMP36 and keeping in touch with some fundamental code to peruse the simple information it is associated with.
A Few Considerations:
Before we jump into getting this TMP36 temperature sensor hooked up there are a few points to consider:
• This sensor is not weatherproof, so it will need to be shielded from direct exposure to the elements.
How It Works:
Unlike a thermistor, the TMP36 does not have a temperature sensitive resistor. Instead this sensor uses the property of diodes; as a diode changes temperature the voltage changes with it at a known rate. The sensor measures the small change and outputs an analog voltage between 0 and 1.75VDC based on it. To get the temperature we just need to measure the output voltage and a little bit of math!
Technical Specifications
- Calibrated directly in Celsius (Centigrade)
- Linear + 10-mV/°C scale factor
- 0.5°C ensured accuracy (at 25°C)
- Rated for full −55°C to 150°C range
- Suitable for remote applications
Components Required
You will need the following components −
- 1 × Breadboard
- 1 × Arduino Uno R3
- 1 × LM35 sensor/TMP36
- 1 × resistant
- Hookup Wires – We recommend Premium Male/Male Jumper Wire
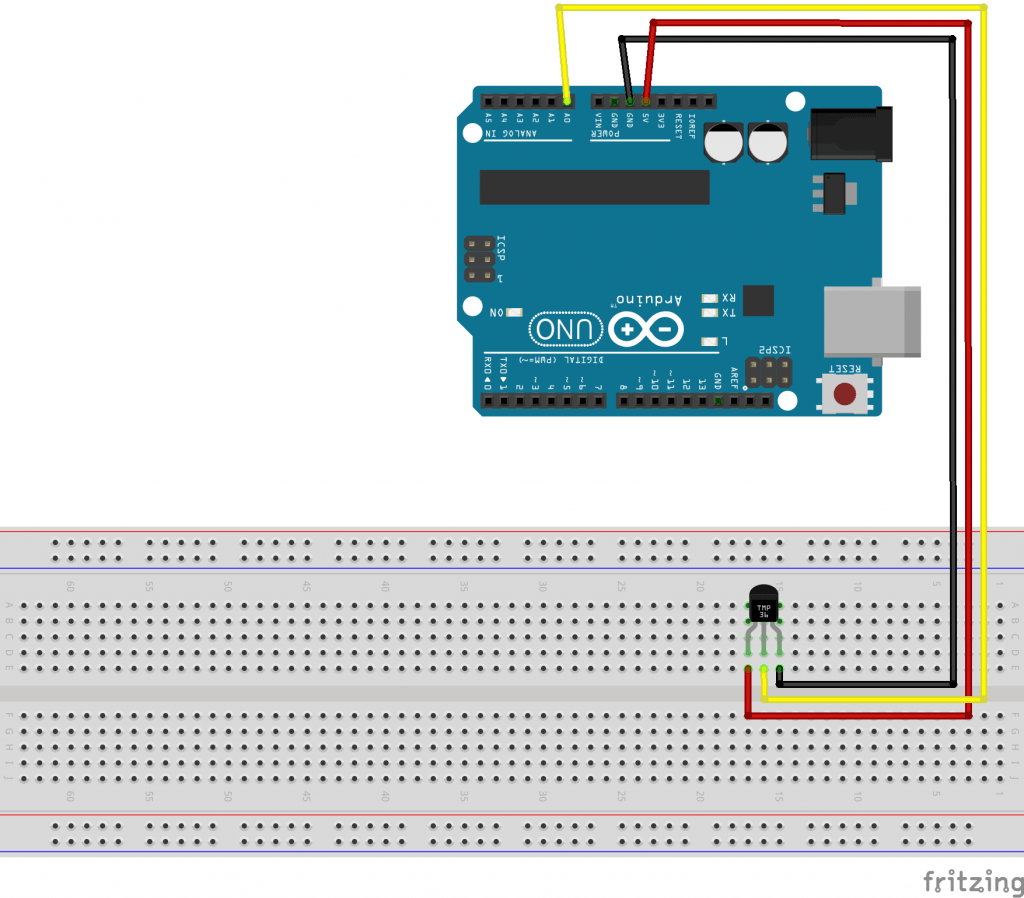
Technique
Follow the circuit outline and attach the parts on the breadboard as displayed in the picture given underneath.
Sketch
Open the Arduino IDE programming on your PC. Coding in the Arduino language will control your circuit. Open another sketch File by clicking New.

Arduino Code
int sensePin = A0; //This is the Arduino Pin that will read the sensor output
int sensorInput; //The variable we will use to store the sensor input
double temp; //The variable we will use to store temperature in degrees.
void setup() {
// put your setup code here, to run once:
Serial.begin(9600); //Start the Serial Port at 9600 baud (default)
}
void loop() {
// put your main code here, to run repeatedly:
sensorInput = analogRead(A0); //read the analog sensor and store it
temp = (double)sensorInput / 1024; //find percentage of input reading
temp = temp * 5; //multiply by 5V to get voltage
temp = temp - 0.5; //Subtract the offset
temp = temp * 100; //Convert to degrees
Serial.print("Current Temperature: ");
Serial.println(temp);
}


Leave Comments
Post a Comment
Please leave a message if you find this content very helpful